Friday, May 13, 2005


Here is a photo looking down the central hallway towards the front door. Of special interest in the large lintel over the intermediate door frame in the foreground. This is 2 beams of 300 x 45 F17 SHW in parallel! Needless to say, we have extra stumps under this location, to bear the roof-load from this lintel.

The Frame is made from Baltic Pine

To my surprise, the frame uses imported MGP10 baltic pine (machine graded pine, stress-rating 10). We grow heaps of radiata pine in Australia, so I found it amazing that an imported product can be cost competitive. With our high-dollar at the moment, it is practical to use baltic pine for the frame.

Baltic pine grows slower than radiata pine, and has a very fine grain structure that makes it attractive for furniture (e.g. Ikea). So it seems a bit criminal to put it in the frame. However, its slow growth-rate also means that is much straighter and therefore we will save money on trimming the wall studs in preparation for plaster. I was really pleased about this!

It has to be 250mm

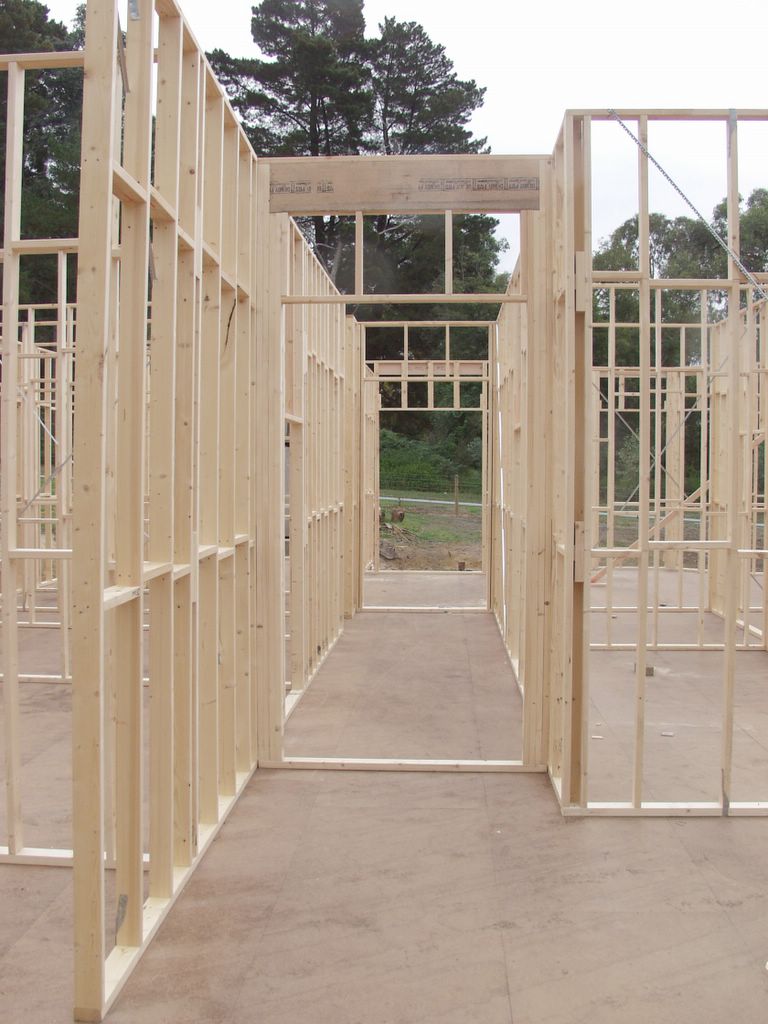
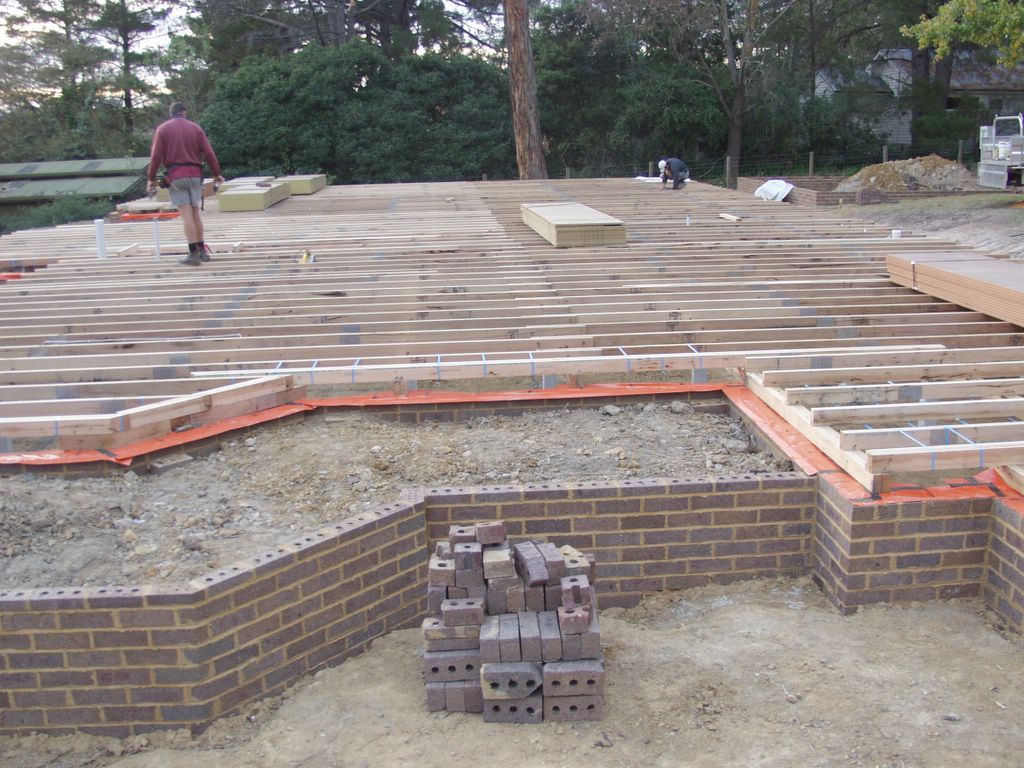
One of the more tedious parts of getting the frame up was setting the external wall thickness for 250mm.

In a normal modern home, the windows protrude through the openings in the brickwork, so if a wall is a bit thinner than the nominal 240mm, the window just protrudes a bit more, making the reveal around the wind-moulding a bit smaller.

In our house, the walls are 250mm thick, and the windows are designed to butt-up to the rear face of the brickwork, with a nominal 10mm clearance between the rear face of the bricks, and the front face of the window frame. If this clearance falls below 240mm, then the window frame protudes into the room-side of the frame more than it should (normally set to 10mm to give a flush finish to 10mm plaster sheet).

So, in setting the external wall frame position, it was imperitive that it was never less than 240mm -- we adopted 245mm as the acceptable measured minimum. In some cases, this meant trimming 10 or 15mm out of the pre-fabricated frame to ensure it was OK.

After two days work the entire frame, including internal walls was in position. The walls are connected with strap-nails in the top wall-plate, and tacked temorariliy into the floor at the bottom plate. The next step is to plumb each wall for vertical, squareness and straigtness.

The view of the front bedroom frame, and other external walls.

After one-day of work, our carpenter and assistant had these external-wall frames tacked into position.

An overall view of the platform florring nearing completion.

The platform flooting is nearly complete here -- we chose 22mm thick sheets, although 19mm is acceptable too. The cut-out near the pipes is for the fireplace base.

Thursday, May 05, 2005

Sub-Floor Lighting & Keep It Clean

As I hate crawling around in dark sub-floors, I have had a lighting system installed. Fluorescent lamps are good for this, but I went down the cheaper-path and just used 15 incandescent lamps. These are positioned uder floor joists, and the polyester insulation is trimmed so it is not near the lamps.

Also, we worked hard to clear the sub-floor out, so there are no large lumps of clay to crawl over, and no timber off-cuts left lying around. This latter point is also important in a termite area, such as we are in.

Plumbing Rough-In

I didn't get to choose my plumber until just recently. I should have been a bit more organised, so he was lined-up earlier.

Anyway, yesterday our plumber did the "rough-in" for the pipes in the sub-floor area. He has left the risers for each pipe glued into position, so that the carpenter has to make a round cut-out in the platform flooring sheets as they are installed. Sometimes they don't put the risers into position, but they have to trust that the carpenter will make a hole for it, or at least mark the exact positon for a hole.

To do the rough-in, the plumber needs to know the dimensions for toilets, showers and baths, so he knows where to put each riser-pipe. Fortunately, we had chosen these nearly a year ago.

Trimming Out for the Fireplace

Our fireplace will have a proper brick chimmney, so it has so be supported on a pad footing in the ground. The suspended timber floor around it has to be "trimmed out" in much the same way that is done for stairwells. Either side of the fireplace the joists are doubled, and then a joist-trimmer is run at right-angles that picks up the joists that are curtailed by the fireplace.

I have allowed for 20mm nominal clearance between the floor-framming members and the fireplace masonry structure. This arrangement means that differential movement between the fireplace and house frame can ocurr without damage to the structure (e.g. heave/sag in footings, shrinkage in frame etc.)

Note: The BCA requires that the fireplace hearth (in front of the fireplace-proper)be supported on masonry, not in timber-floor-framing.

Above is shown the arrangement of joists and trimmers to trim the floor around the fireplace. Note that some joists are doubled -- 2 / 90x45, F17 SHW.

Sub-Floor Insulation

In Australia, a a new Energy Rating system is now in place for all new homes. Up until June 30 2005, new homes must certify to at least 4-Star level and include solar heated-water or a water-recycling system. After June 30 2005, all new homes must achive 5-Star rating minimum to be given a Building Permit.

Our home is certified for 4-Stars. To achieve this, we needed some sub-floor insulation. We have fitted R2 polyester batts. To fit these, one method is to gather-up a section of the batt and staple it to the joist. We have chosen to run packing-case tapes under the joists, attached with staples. I think this is better for servicability, as the batts can be readliy removed/replaced, although it is quite a tedious job running the tapes under the joists -- we should have run them after the bearers were done amd left them un the ground until the joists were in place.

To position floor insulation, we stapled packing-case fibre-reinforced tape under the floor joists.

Bearers and Floor Joists

The bearers and joists are now completed. I did a provisional layout of the bearers and joists on my computer, so I knew how much to buy, and how many of each length. In practice, the actual installation always varies a bit (e.g. locations of joins), but the amount of timber left-over was pretty much as anticipated.

Even though most of the internal walls are not bearing roof-load, an additional joist was put in position under these walls to ensure good strength.

One of the finer points of inspection for the surveyor was to check that the bearers were connected at joins with a nail-plate to prevent any tendency to move apart.

The sub-floor frame must be inspected by your Building Surveyor - in our case it passed with flying colours.

The bearers and joists are now completed in the above photo. Also shown are a few riser-pipes, as the plumbing rough-in is also completed.

NOTE: On top of the joists we have positioned packs of sheet particle-board which will become the platform flooring for the whole floor.