
A recent view of the house - sills and mouldings are yet to be done, so the brick work has not been cleaned down yet.
posted by Steve at Wednesday, January 25, 2006
0 comments
![]()
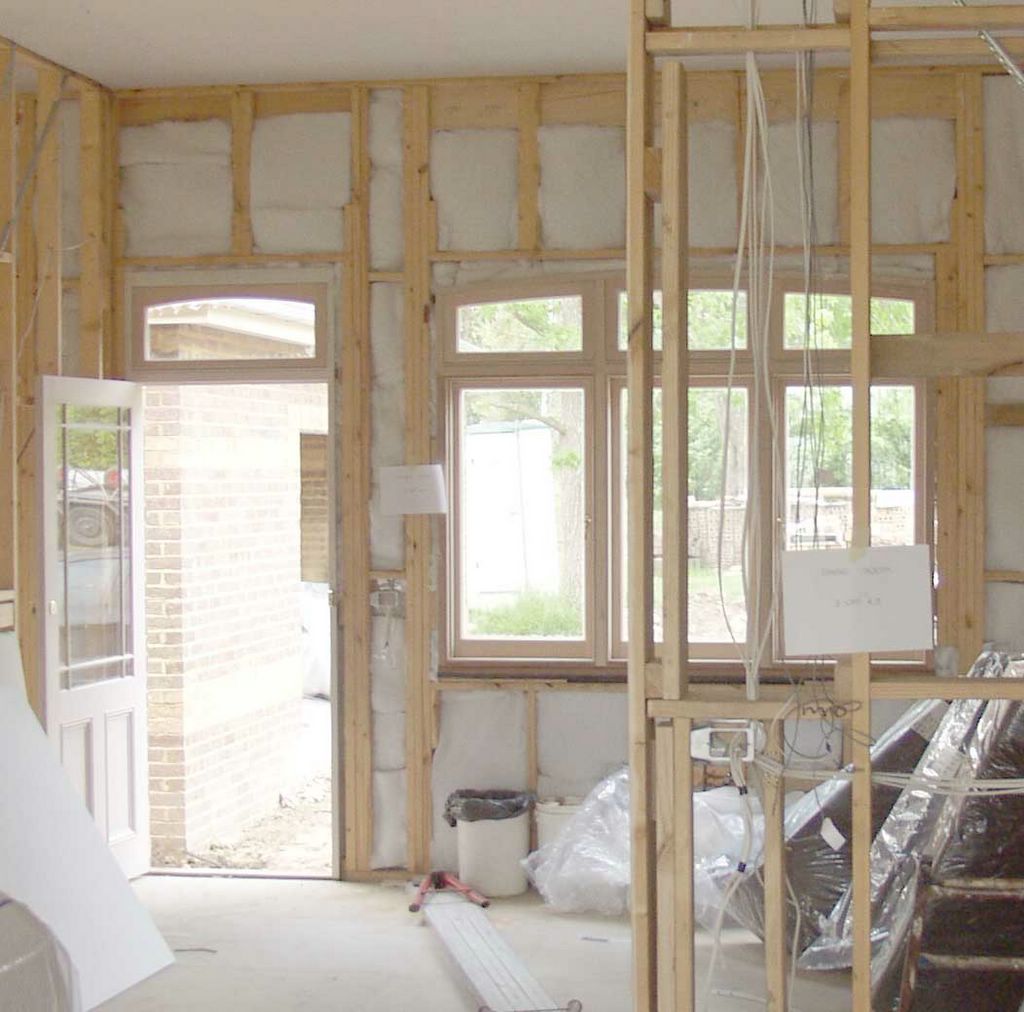
This blog describes the sequence of events for the building of our new home in Melbourne, Australia. We haven't engaged a builder, but are taking on the role of "owner-builder" ourselves, which means that we are project managers and we engage sub-contractors for the parts of the project. NOTE: To be an owner-builder, a Building-Technology course at a TAFE is recommended (Tertiary Education Institute).

posted by Steve at Wednesday, January 25, 2006
0 comments
![]()
posted by Steve at Tuesday, January 03, 2006
0 comments
![]()
posted by Steve at Tuesday, January 03, 2006
0 comments
![]()
posted by Steve at Tuesday, January 03, 2006
0 comments
![]()

posted by Steve at Tuesday, January 03, 2006
0 comments
![]()
posted by Steve at Tuesday, January 03, 2006
1 comments
![]()
posted by Steve at Tuesday, January 03, 2006
0 comments
![]()
posted by Steve at Tuesday, January 03, 2006
1 comments
![]()

posted by Steve at Tuesday, January 03, 2006
1 comments
![]()

posted by Steve at Tuesday, January 03, 2006
0 comments
![]()
posted by Steve at Tuesday, January 03, 2006
0 comments
![]()
posted by Steve at Tuesday, January 03, 2006
0 comments
![]()
posted by Steve at Tuesday, January 03, 2006
0 comments
![]()
posted by Steve at Tuesday, January 03, 2006
0 comments
![]()
posted by Steve at Tuesday, January 03, 2006
0 comments
![]()
posted by Steve at Tuesday, January 03, 2006
0 comments
![]()
posted by Steve at Tuesday, January 03, 2006
0 comments
![]()
posted by Steve at Tuesday, January 03, 2006
0 comments
![]()
posted by Steve at Tuesday, January 03, 2006
0 comments
![]()

posted by Steve at Tuesday, January 03, 2006
0 comments
![]()
posted by Steve at Tuesday, January 03, 2006
0 comments
![]()
posted by Steve at Tuesday, January 03, 2006
0 comments
![]()
posted by Steve at Tuesday, January 03, 2006
0 comments
![]()
posted by Steve at Tuesday, January 03, 2006
0 comments
![]()
posted by Steve at Tuesday, January 03, 2006
0 comments
![]()


This site is a member of www.houseblogs.net

 Above: Coolattie, a Melbourne home built during the transition from Victorian to Federation.
You can find a summary of Australian architectural styles at:
Above: Coolattie, a Melbourne home built during the transition from Victorian to Federation.
You can find a summary of Australian architectural styles at: