Tuesday, August 30, 2005

Through my Wife's Eye - The North Elevation

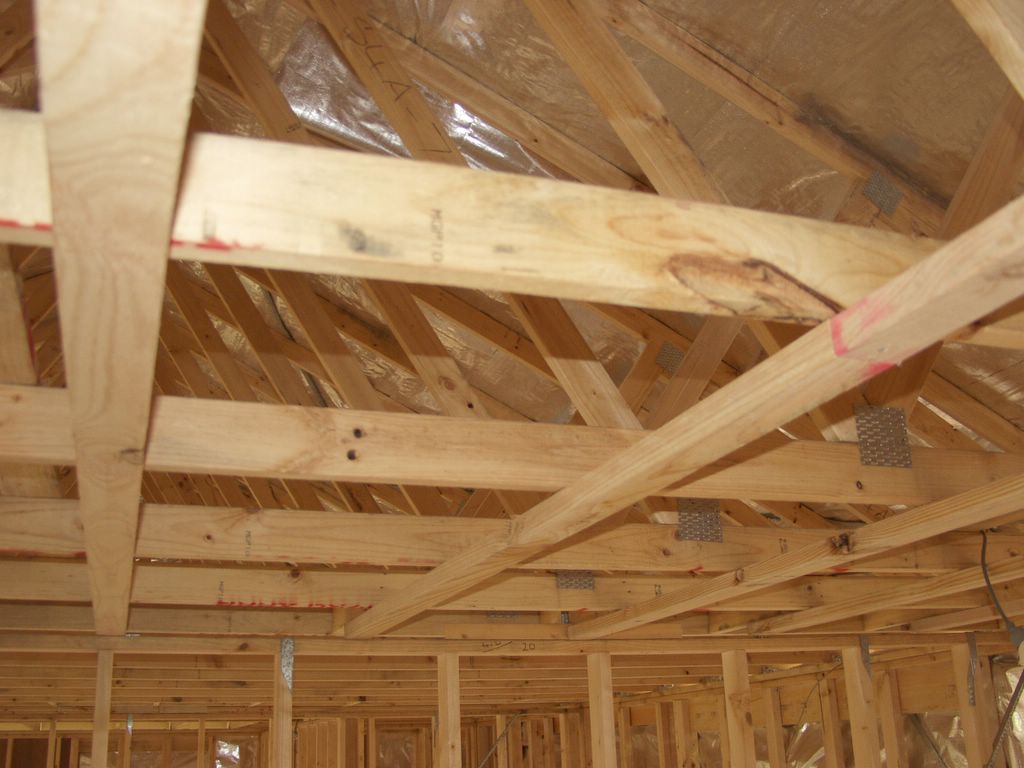
It was good to get some photos from a different perspective. Here's one that my wife Julie took from the north side, showing (of course) the north elevation. We are currently waiting on the brickies coming back to lay the bricks here. The roof is now clad, except for a small section near the chimmney (this is held-up as well, because we are waiting on some chmney-mouldings to arrive from the manufacturer).

In the foreground you can see the charcoal that remains from one of our many "burn-offs", and on the left is our wood-pile for the fireplace.


The north elevation - which should resemble the line-drawing at the top of this page.

Ceiling Battens

We have a truss-roof, and it is possible to line the ceiling directly with plasterboard fixed to the bottom-chords. However, a better result can be obtained by first fixing battens to the bottom chords of the trusses. This gives you the opportunity to "pack" any variation in bottom-chord heights, so all the battens are level. This is crucial where the ceiling meets the wall, as any height variation will make the cornice deviate, and not look straight. With some effort, it is possible to work to a 3mm tolerance on batten height. In the middle of the ceiling, the height doesn't matter, as it is not possible to pick small variations in height there.

Our battens are 70x35mm pine (merchant grade - i.e. non-stuctural grade). They are spaced 600mm. For this spacing, a slightly stronger plaster board is used ("Unispan" plaster board), than that used for 450mm batten spacing).


Some ceiling battens - 70x35 pine.

Nail Gun

I was lucky to be able to borrow my carpenter's nail gun for a week-end. This allowed me to put up quite a large portion of the ceiling battens. This nail gun uses a small replaceable gas cannister for fule, and a rechargable battery (presumably to run the compressor, and to fire the fuel). In Australia, these "framing guns" cost about A$600 (US$450).


You can't put up ceiling battens without one of these "gas-guns".

Friday, August 19, 2005

The Main Windows Arrive

With the newly-arrived front windows installed, the house is really starting to hint at its final character. I guess the windows are kind of like eyes -- contributing much to the personality of a building.

The windows are made from gum trees (Victorian Ash, hardwood). They are double hung, and weight-balanced. I feel like I don't deserve such beautiful windows. They slide up and down so easily -- I just hope they are doing the same 100 years from now.

We managed to pre-prime all the window-sashes at the factory, prior to glazing. So the glazing-rebat/putty-bed is primed. In some cases we had time to also prime the rest of the frame as well.

We have installed plastic sheeting over them to protect them from falling mortar during the bricking process.


The front windows installed, ready for the brickwork.

Is It 1895 Here?

Our windows are made in the old style, and therefore lack wind-mouldings. This means that the outside face of the window-frame is flush, and butts-up behind the brick-veneer outside skin. Therefore it has been possible to do some brickwork before all the windows arrived. Of course, this is risky -- you have to get the brickwork dimensions correct, and it has to be a smooth finish on the inside face of the brickwork. (With contemporary wind-mould-style windows, the inside face of the brickwork can be roughly finish, as the wind-moulding protrudes through the aperture slightly, covering any sins in the brickwork).

Below is a photo of the brickwork, with four locations for windows. If you exclude the blue building-paper, it looks like it could be 1895, as this is the way it was done then (you don't often see brickwork go up before the windows go in these days).


The east-side brickwork very near completion.

Tuesday, August 02, 2005

Windows & Bricks Come Together

This week is probably the scariest part of this house-building project. This is because a number of components are being installed that all need to fit togther:

- the windows have to fit into the frame
- the concrete window sills need to fit into the brickwork
- the radiussed steel lintels have to match with the radiussed heads of the windows and doors
- the brickwork "buff banding" has to look right (we had to decide for 2 or 3 courses)
- the buff-banding has to be be at the correct height for the masonary quoins on the corners
- the brick bond has to be at the right height for the lintel, and for the lateral location of the window

I think we have pretty much achieved the above, at least on the windows delivered so far. I was amazed at how well the rolled-steel lintel mates with the radius of the window head. So far this has worked out very well on the four windows that have been done.

I am really pleased, as being an owner-builder, its my fault if it doesn't work!


The arch and lintel over the kitchen window.

Monday, August 01, 2005

The Front Door

This is the last post for today, in a series of catch-ups from the last week or two.

I thought I would post a photo of the front door frame in-place. Of course, this makes it look much more like a home, than it has done to-date. The frame is fitted with plain glass for now, but after we move into the house, we would one-day like to have stained glass here.


The front-door frame in-place, with roof-work still in progress.

Window Head-Heights

One of the most difficult thigs to get right is the alignment of window openings with the brick bonds and courses. We have all the arch "springing points" aligned with the top of Course-33 in our brickwork. I have checked the measurements following installation of the windows, and I think its going to work out for us (and the bricky agrees!).


All windows have their head-hrights aligned, and also aligned with the brick-courses (that are yet to be laid)

The First Batch of Windows

Our first batch of doors & windows arrived last Thursday. This batch mainly had our casement windows, with only a couple of double-hungs. The casement windows (and our doors) are all fitted with wind-moulds, which means that the frame protrudes through the brickwork about 10 or 20mm. (This is in contrast to the majority of our windows, which all butt-up to the brickwork from behind, and so a have a flush frame on the weather-side, with the exception of the sill).


The window to the dining room. It has double French doors opening inwards, casement sashes either side, and hopper-windows above.

Underneath the Arches...

All our windows and doors have "segmented arches" over them (i.e an arch that is not a 180-degree arch). Getting the look of this correct was a worry for me, as I did not want to make the arch effect too strong. I settled on an arch "rise" of about 70mm for an opening of 970mm (4 bricks). I am very happy with the effect, which is shown below.


Our first completed masonry arch.

Garage Brickwork

The brickies started on the top-brickwork last Thursday. This is the first section of "top brickwork" to be done (i.e. above base-brickwork level). We have settled on three course of Daniel Robertson "Buff Banding" at around window-sill height, and two courses just below head-height.

The garage is made using "engaged brick piers" which impart lateral stability into the wall. The piers are one brick short at the top, so a timber bearer can be fitted here, which in turn has roof trusses sitting on it. To hold the roof down, "hoop iron" (galvanised steel strap) is placed into the wall for at least the top 7 courses.

The main lintel over the double door is an inverted T-bar, with a 200x10mm bottom plate, and 200x12mm web (galvanised). The engineering company made an error in the computations for this, at first specifying 200x16mm web, web would have required "fabrication" as such big lintels are not ex-stock.


The garage brickwork in progress.

Slate Pattern

I've been meaning to post a picture showing the slate pattern in better detail. The effect is achieved by cutting the corners of each shingle.


A closer view of the pattern in the slate roof.